These icons (minus MWSnap) constitute the entire Toaster package.
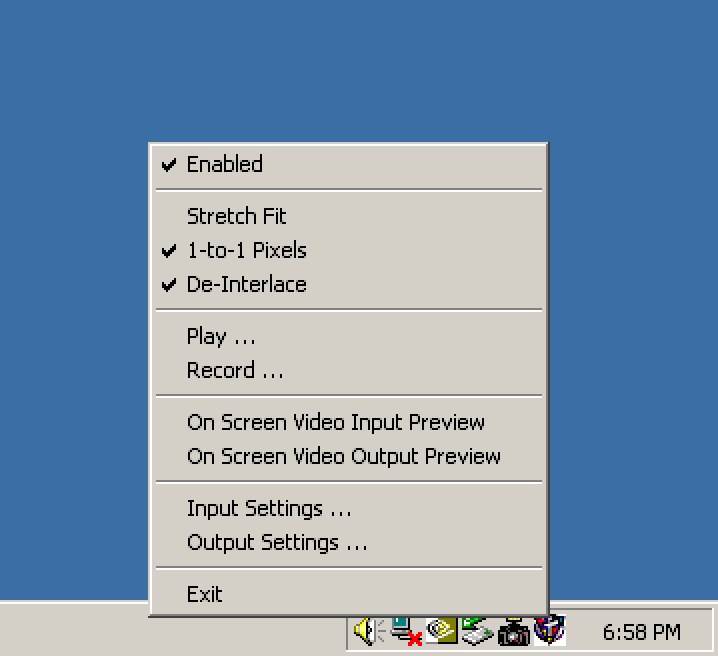
"VT Director" is the only fully Toaster-specific app. It has no UI, just this systray icon. The top three settings control the output (why they aren't in Output Settings is anyone's guess.) Play will instantly play a single RTV file, once, and stop. Record will record input to an RTV file.
The "Video Input Preview" options launch ToasterVision, and the Input/Output settings open associated dialogs, both seen below.
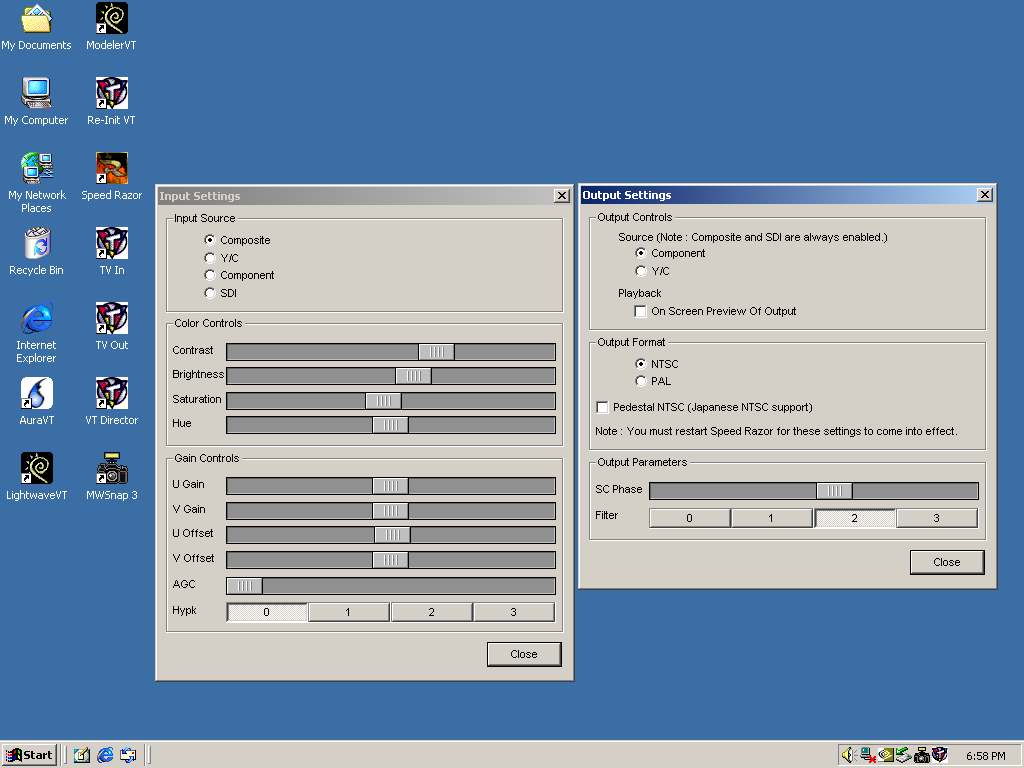
The input settings let you select an input format and set "proc amp" settings, which are global color and gain adjustments. The output settings are mostly straightforward, but I don't know what "On Screen Preview of Output" does. The "filters" make the image on the TV screen look "different," for reasons unknown.

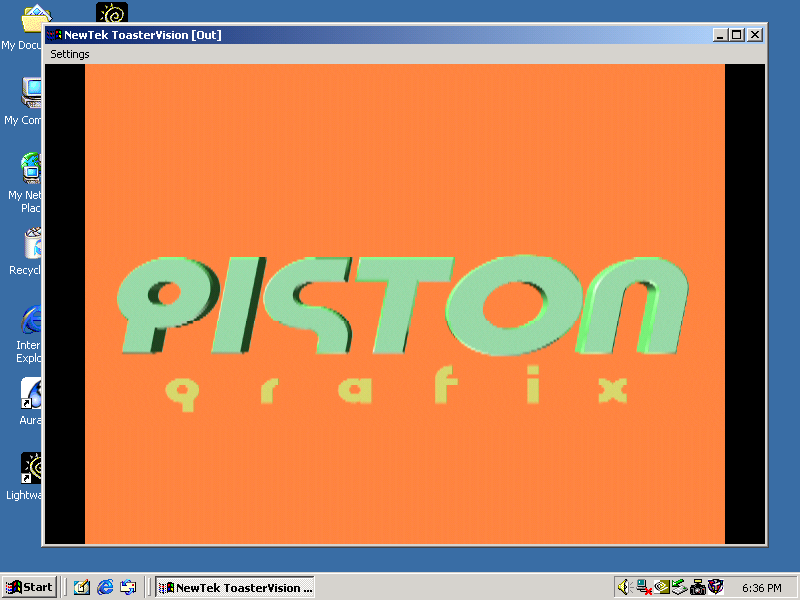
ToasterVision is a minimum-viable-product video monitor. It shows what is currently being received by the card, or what is being output; that's it. You can run both at once. I have found them very janky, sometimes they stop working until I reboot; the 1.02/1.03/1.04 patches probably improve this.
Above, I am playing an RTV file and watching it on the Out jack.
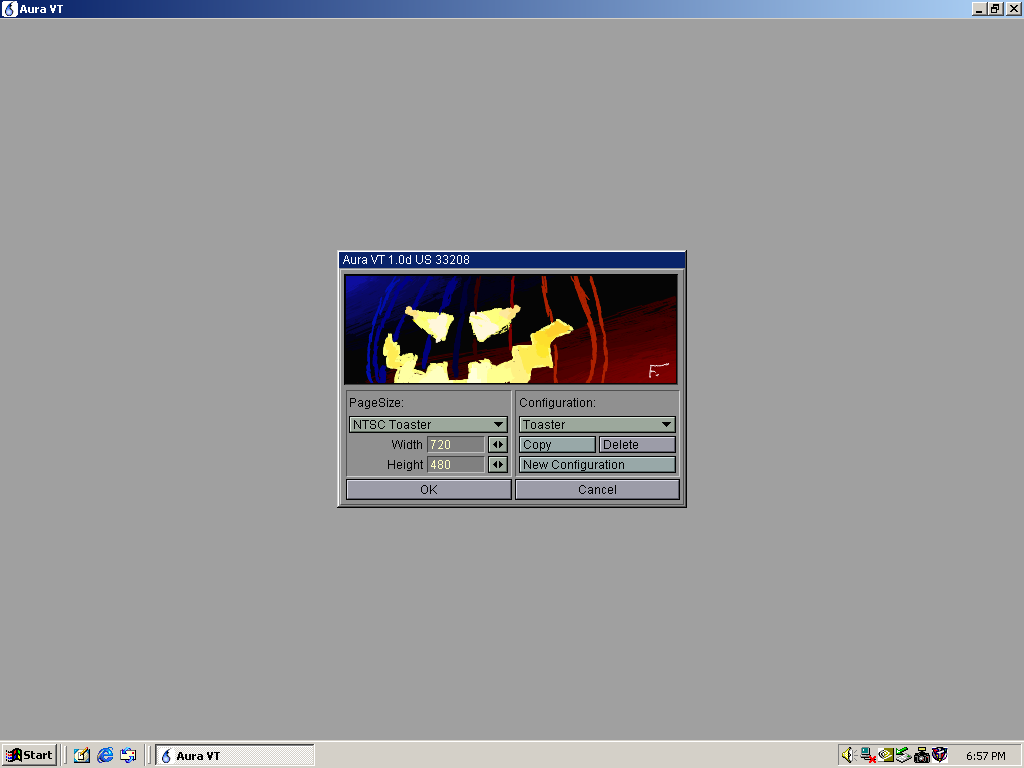
Aura is a TV graphics package, but it supports arbitrary resolutions. It defaults to NTSC, but has presets up to "35mm," which is 2048x1366.
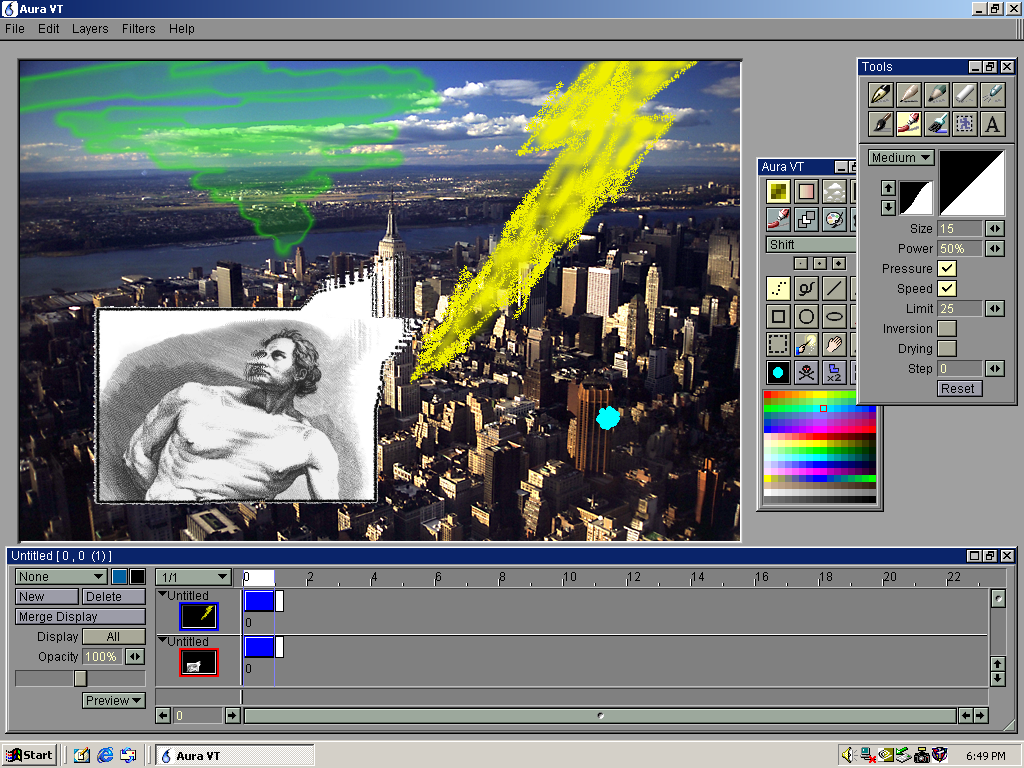
This is a pretty full featured app. It's a little clunky, because (unsurprisingly) it was originally an Amiga app called TVPaint which Newtek bought and renamed. As a result, the interface is just a bit odd, employing some outdated metaphors.
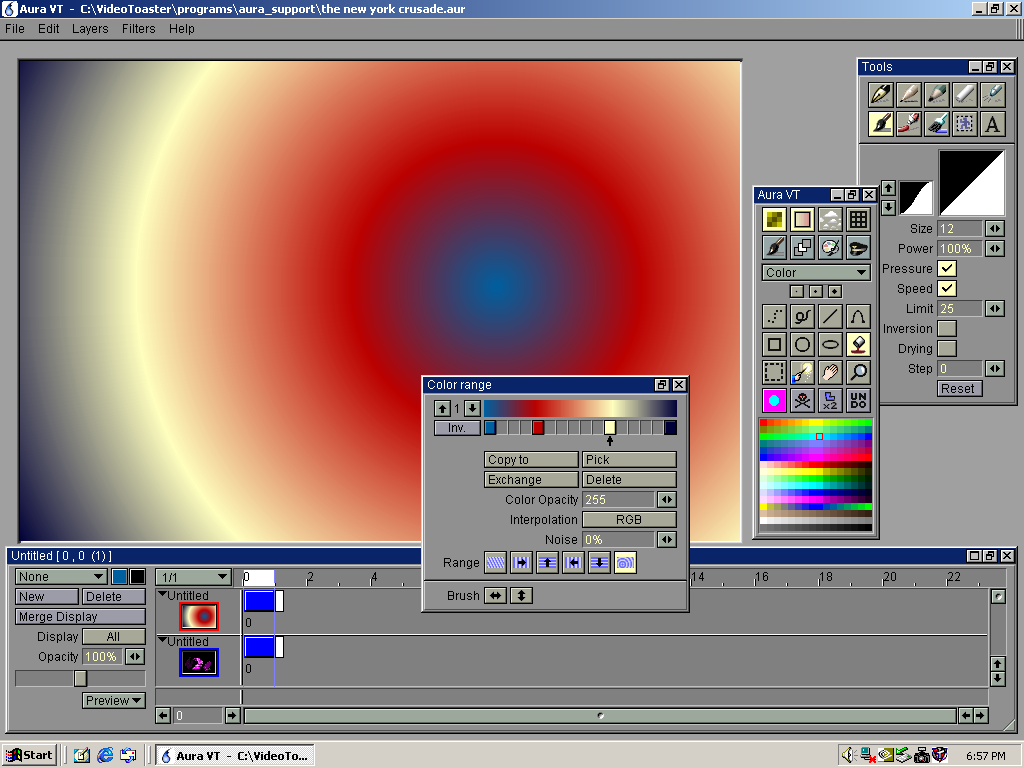
It's not quite Photoshop, but it does have some decent tools. There's layers, a fairly nice magic wand, and a capable gradient generator.
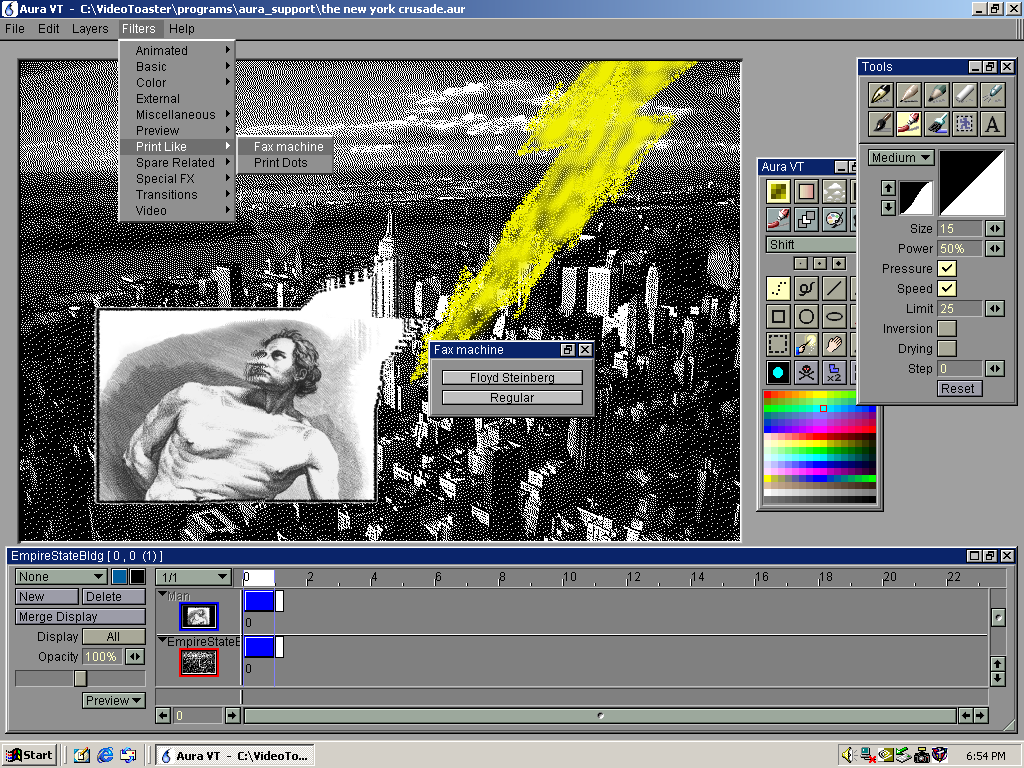
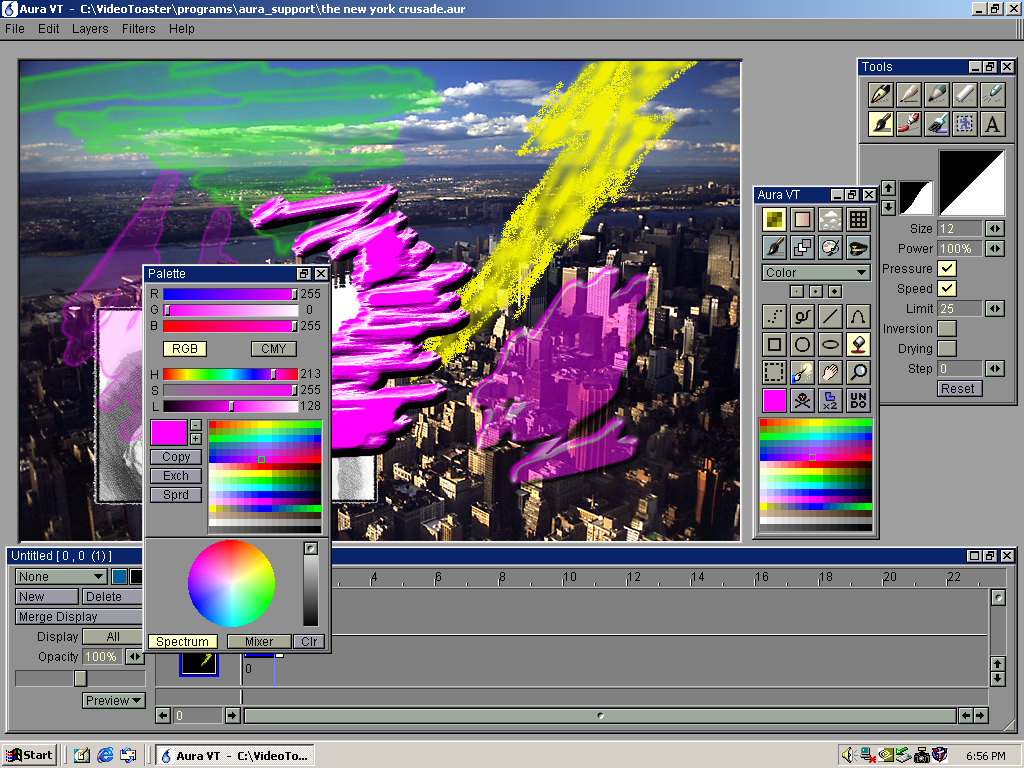
There are plenty of filters, including some snazzy ones, like "fax machine," which is a nice way to get Floyd-Steinberg dithering. There are a number of interesting brushes, including some rudimentary "paint simulation" types that do "piled up acrylics" and "watercolors." The airbrush is extremely pleasant to use.
There are also a bunch of wacky modes for painting, like "color behind," which only draws on transparent areas, "smear" which acts like the photoshop smear but lets you use any brush shape you like, and "shift," which - well, look at the fellow in the picture above. I shifted him.

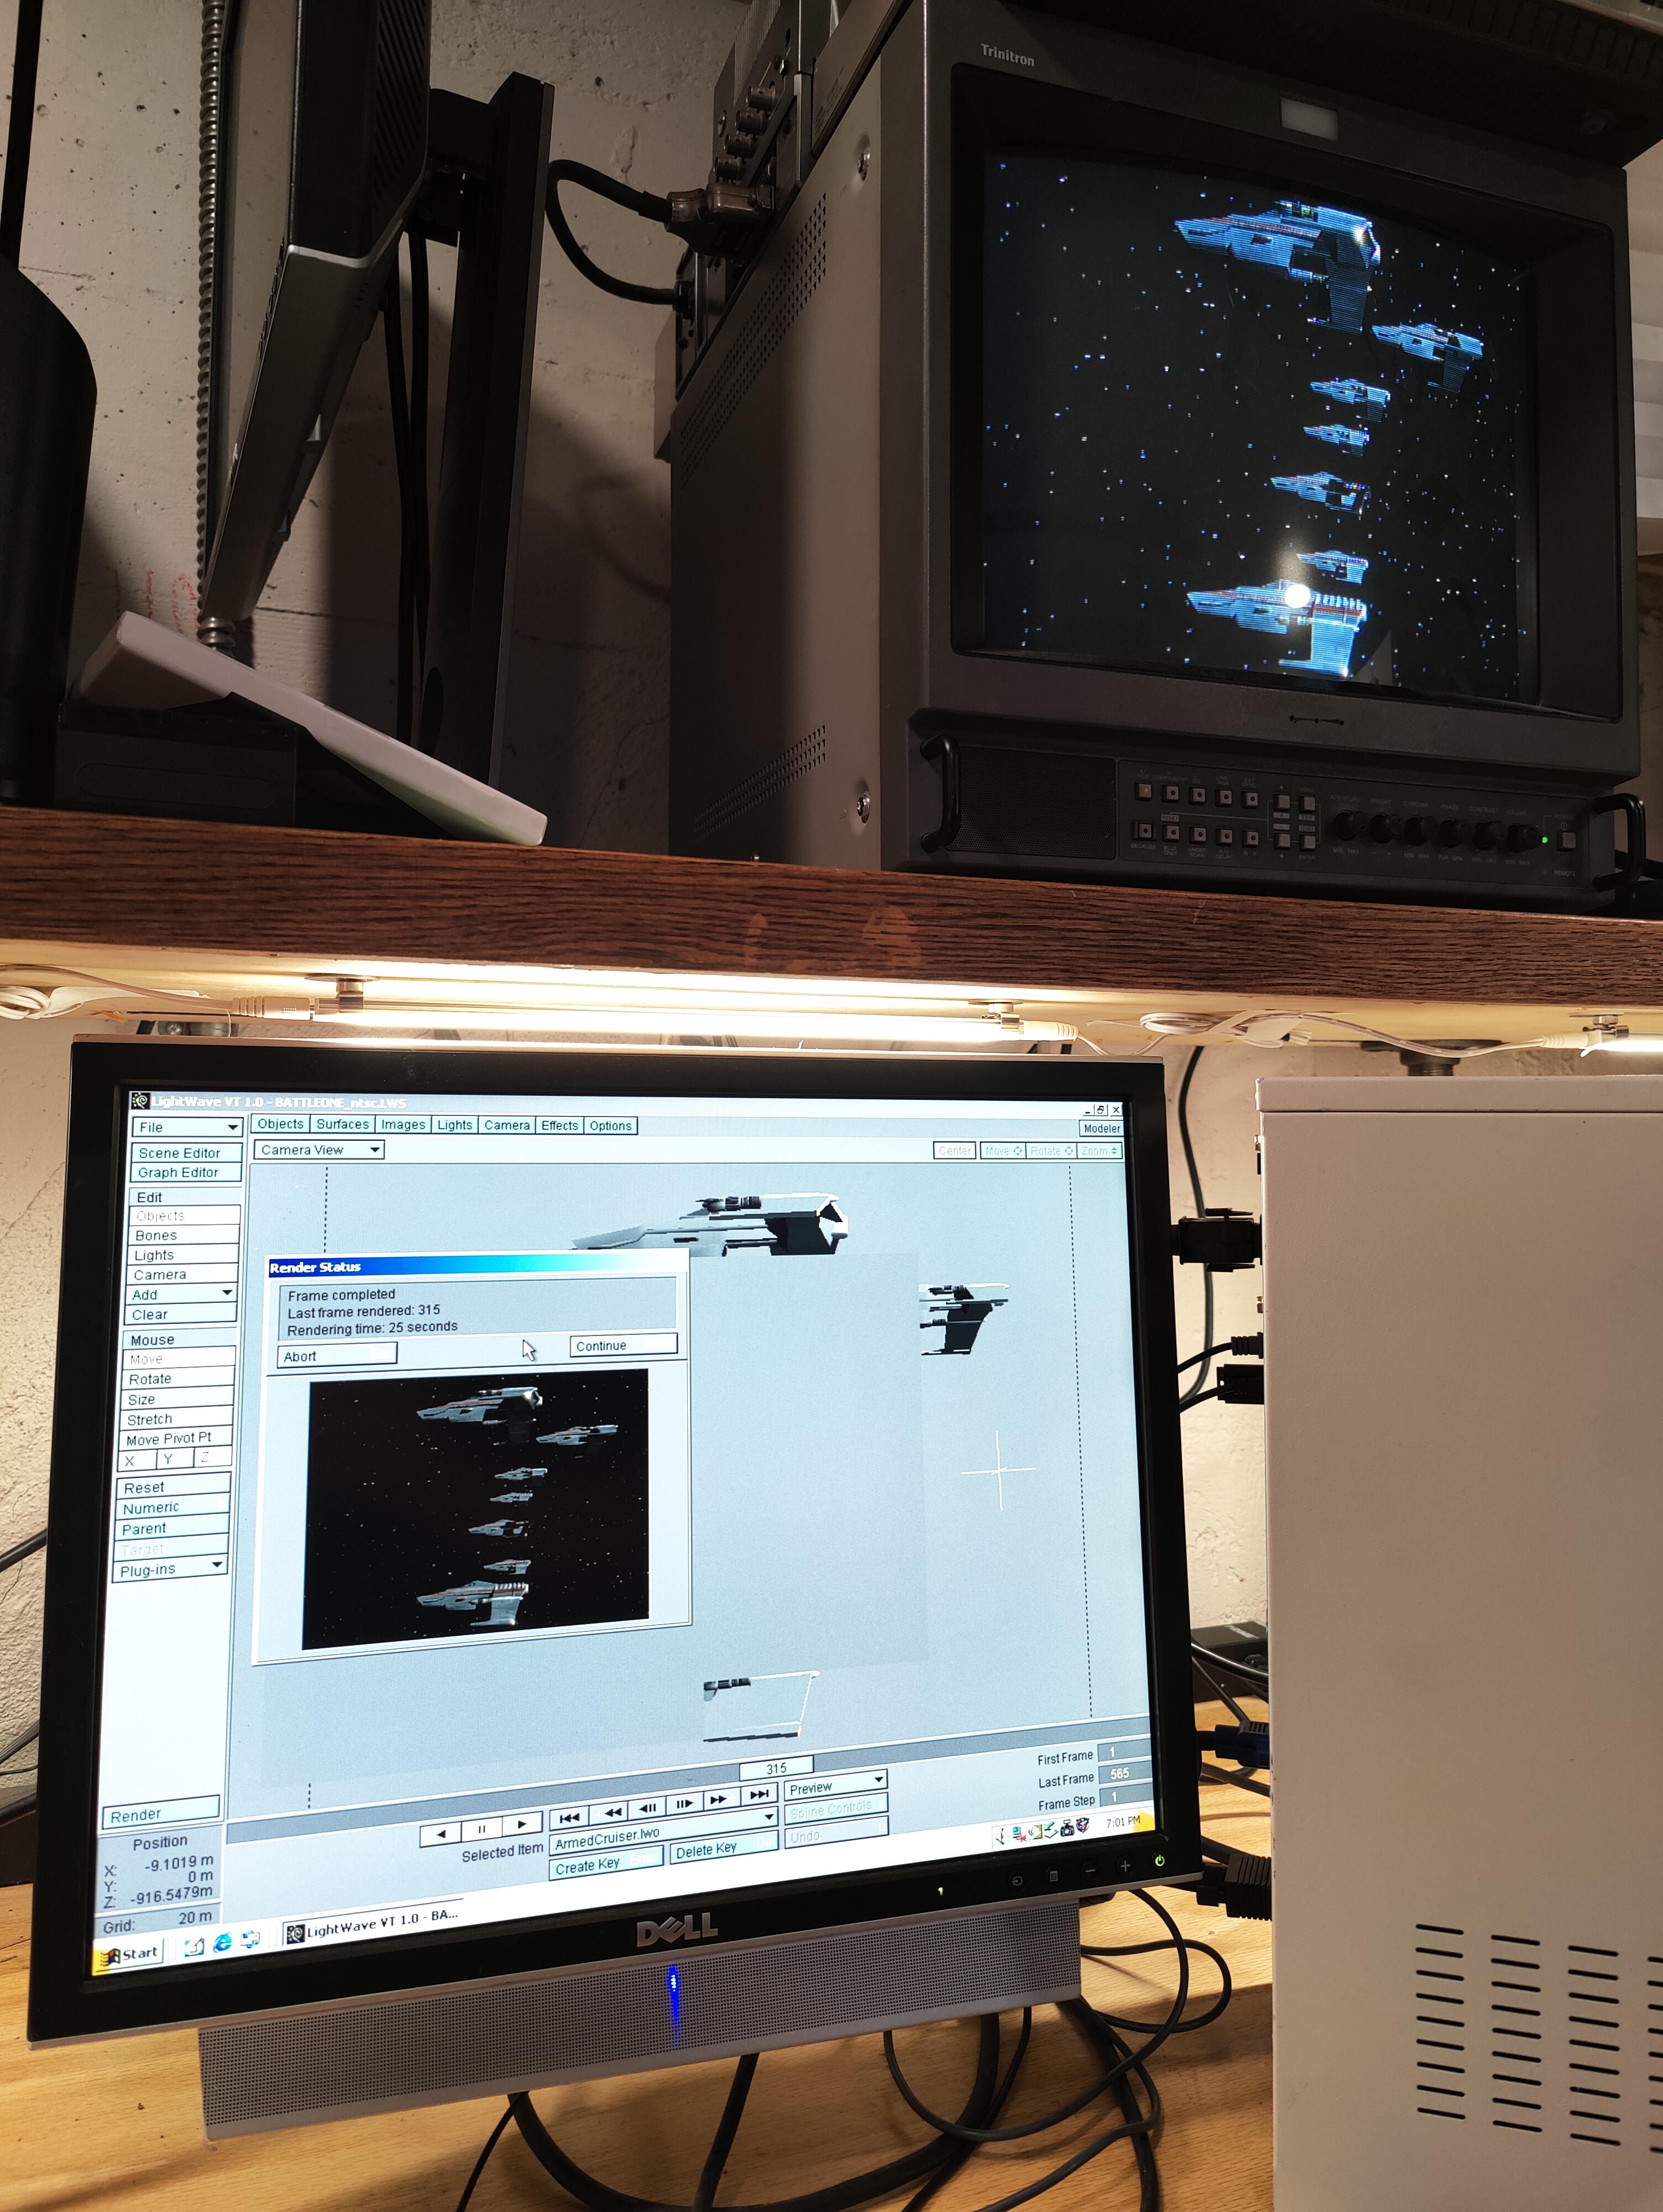
I believe that by 1999, Lightwave 3D was being sold as a standalone product with an impressive price tag. The version included here is hobbled to prevent self-competition. Lightwave VT, as its called, is limited to NTSC resolution, but is otherwise fully featured.
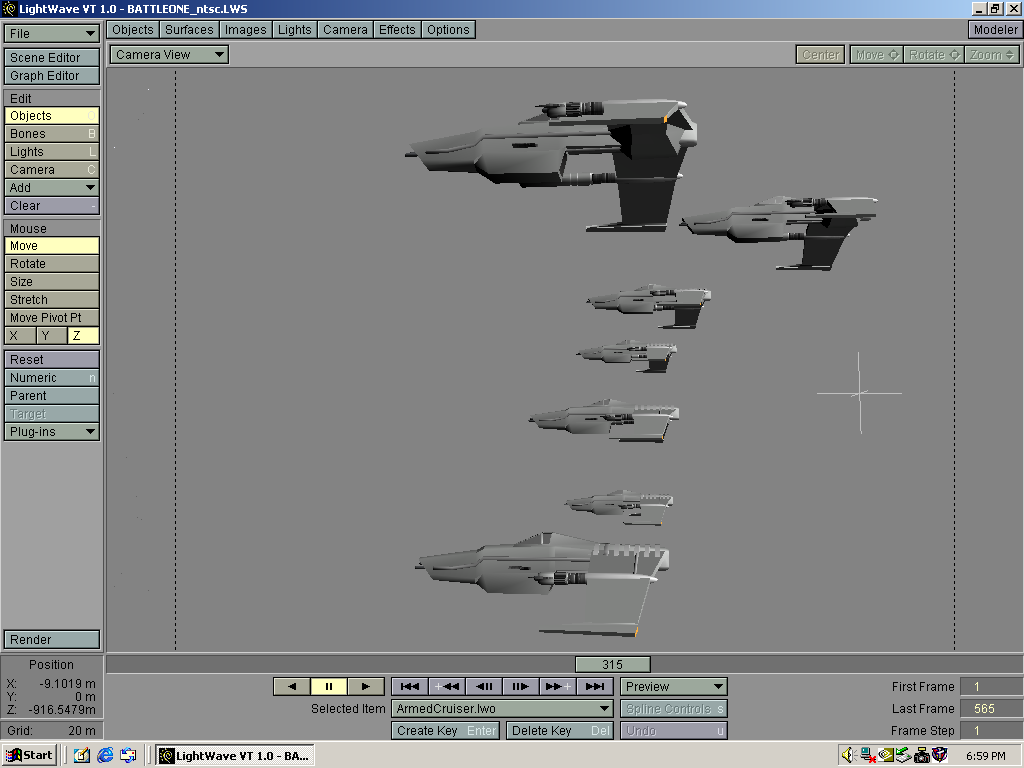
LWVT comes with a library of sample scenes and objects, actually quite extensive. This one is a fully animated scene of spaceships flying in formation. You can just hit render on this and spit out something that looks better than Babylon 5.
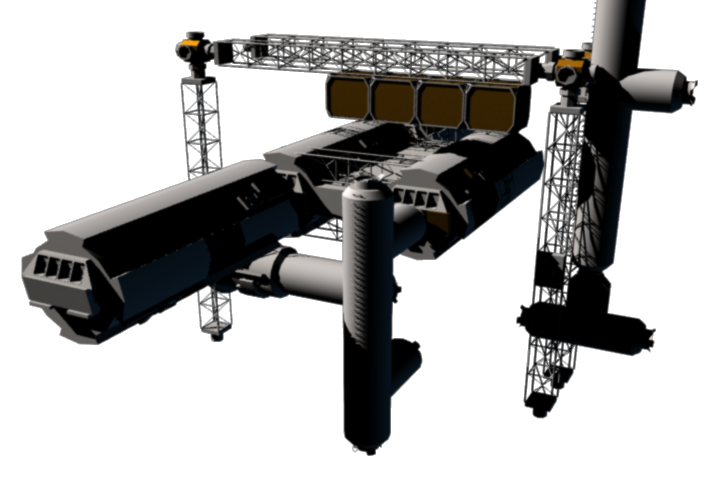
To wit. Preview mode runs smooth as butter on my machine, notably, since it IS 3D accelerated, so my Geforce 4 MX 440 is getting a chance to help out. This is a rendered image direct from LW (which, shockingly, supports PNG output.) I have no idea why the edges look so blurry - maybe there was motion blur in the scene?
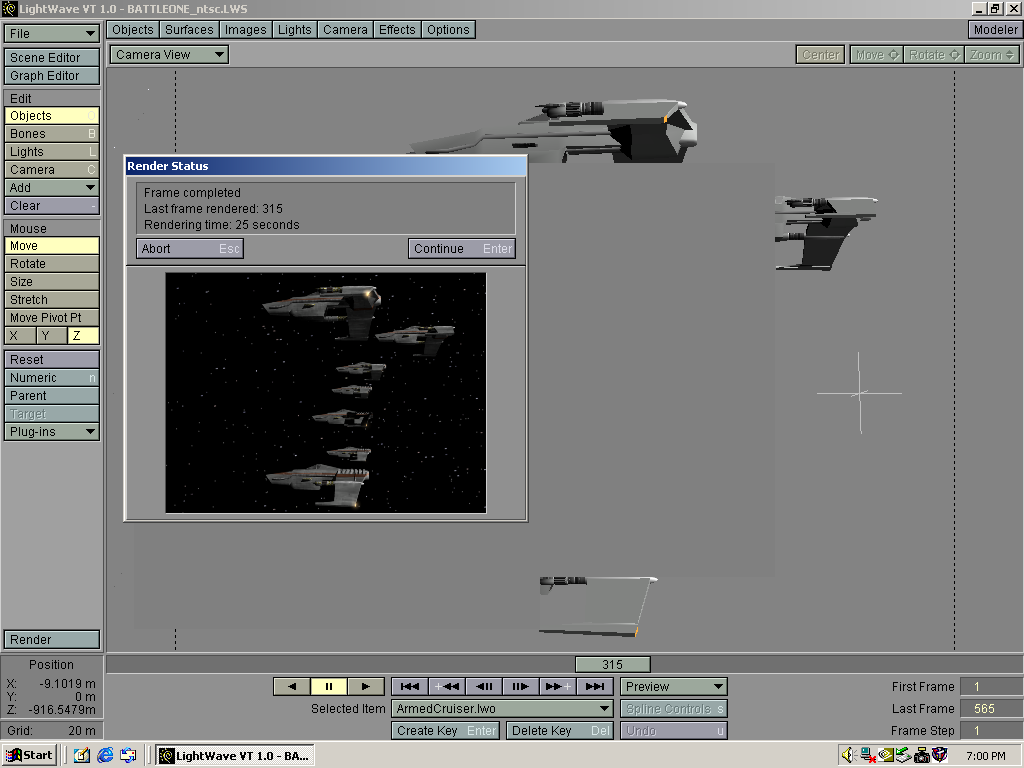
When you perform a render, it outputs via the VT as soon as each frame is done, so you can see exactly how your output will look on a real TV as each frame completes.
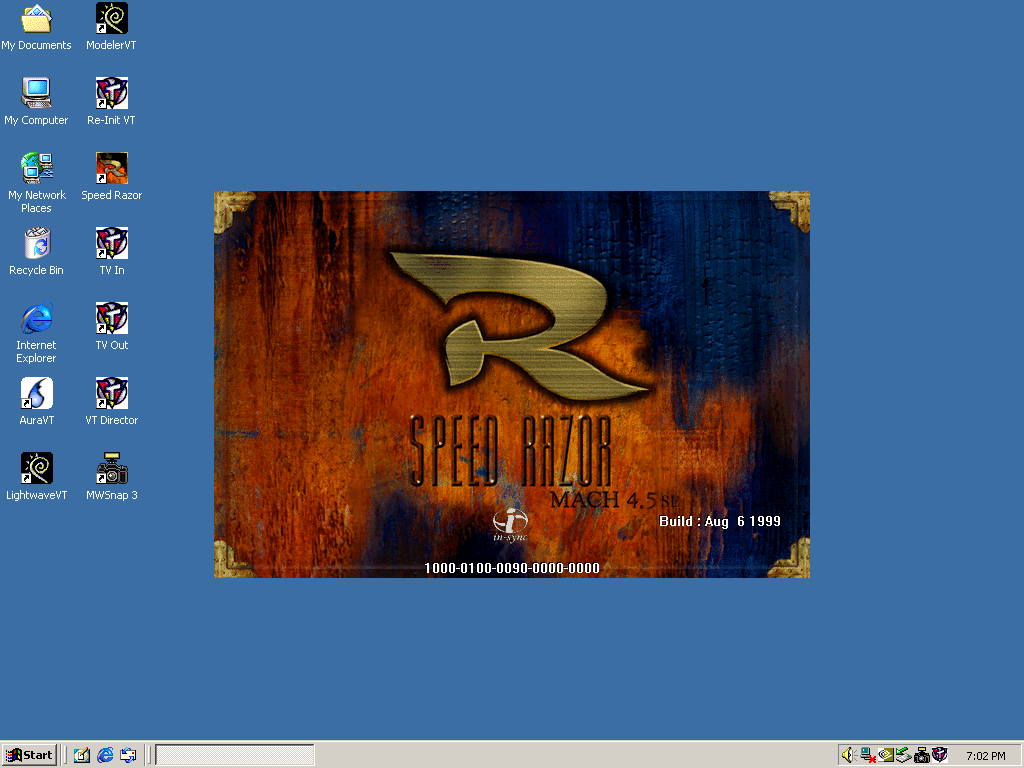
Speed Razor is a licensed app; NewTek did not buy it. The VTNT comes with a commercial copy that installs as a trial, and has to be activated with a key on the back of the (extensive) manual.
One thing I really like is that when you start it up, it tells the VT to output a beautiful splash screen
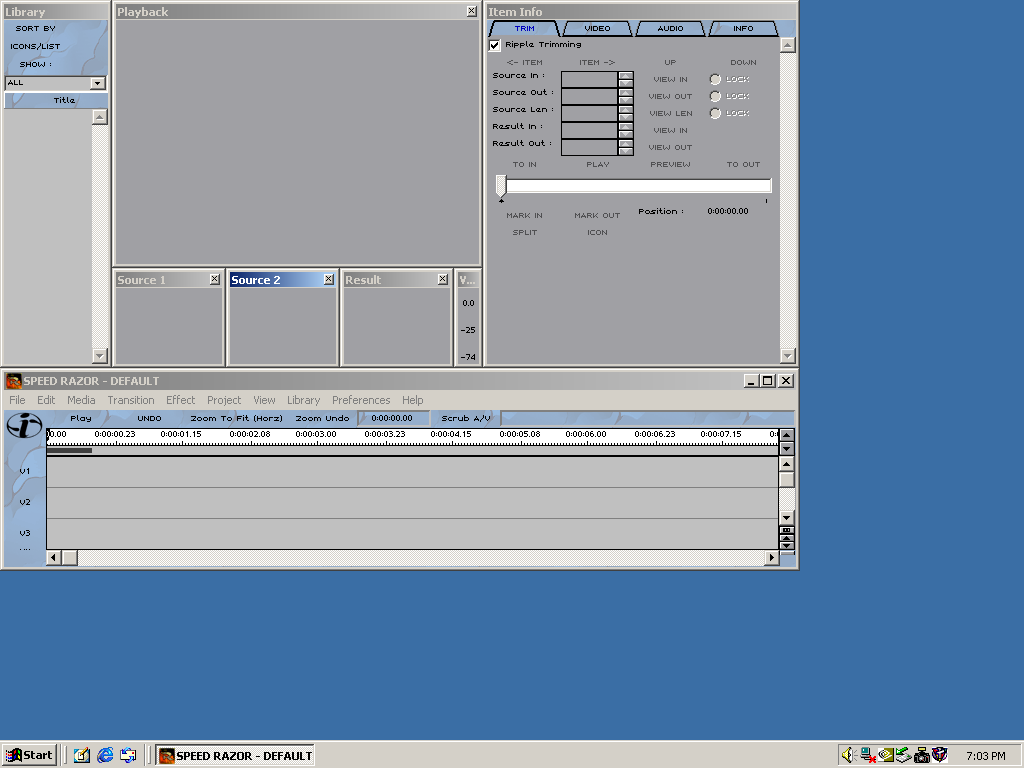
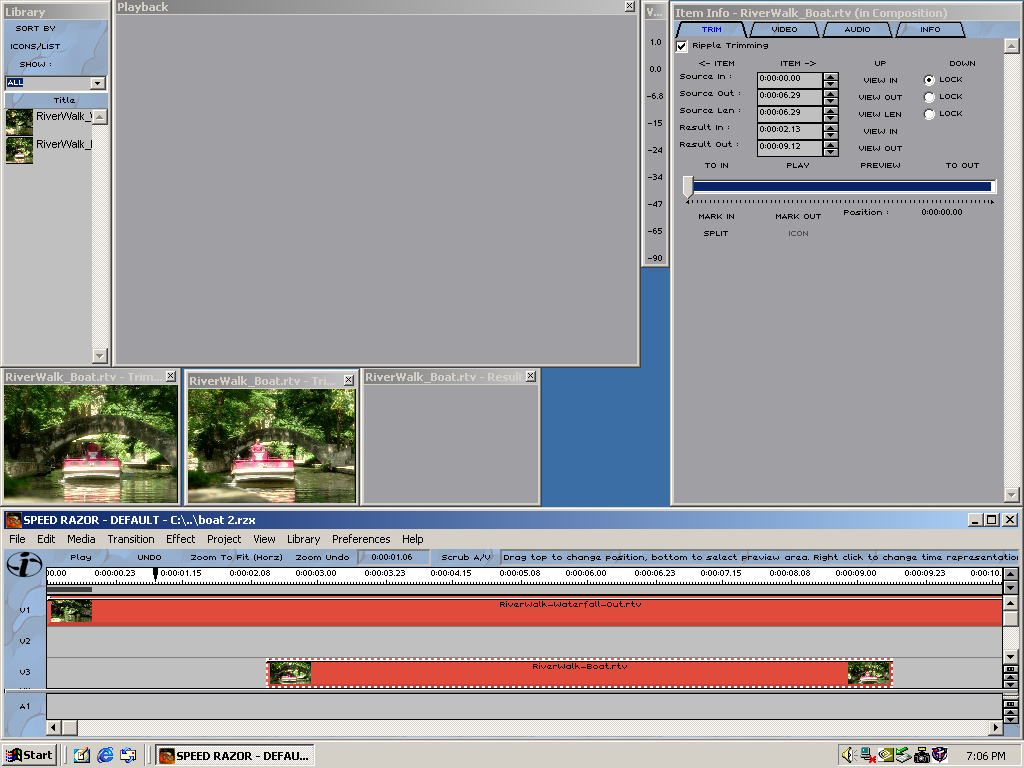
Typical for the era, Speed Razor uses a ton of separate little windows, with no MDI parent. They're hardcoded to fit an 800x600 display on first launch, and there is no "auto adjust to fit screen" button.
You have to manually move and resize every window to fit your display, which will invariably look janky and awful. Of course, since you're definitely going to be using this on a multi display system, it's probably worth it.
The three little windows display three different aspects of the currently selected tracks but I couldn't really begin to explain how they work. I can say that when you have an effect applied that has an overlay (like a 3d transform), you can see a low-quality preview of it in these windows.
The big one is, of course, the main viewport. I'm not sure what the deal is with this - when I first installed it, it always displayed exactly what the VT was outputting. Then it stopped, and I checked settings and found it was never supposed to have worked. I then enabled internal&external preview, and it works again, but at 1/4 resolution and 1/4 framerate.
The timeline view is very confusing. The topmost, lowest-numbered track is the bottom of the visual stack; a clip on V2 will cover a clip on V1, above it. Additionally, effects and transitions occupy entire video tracks, and sort of "trickle up" to affect the clip above them. It's very strange. I do not like it.
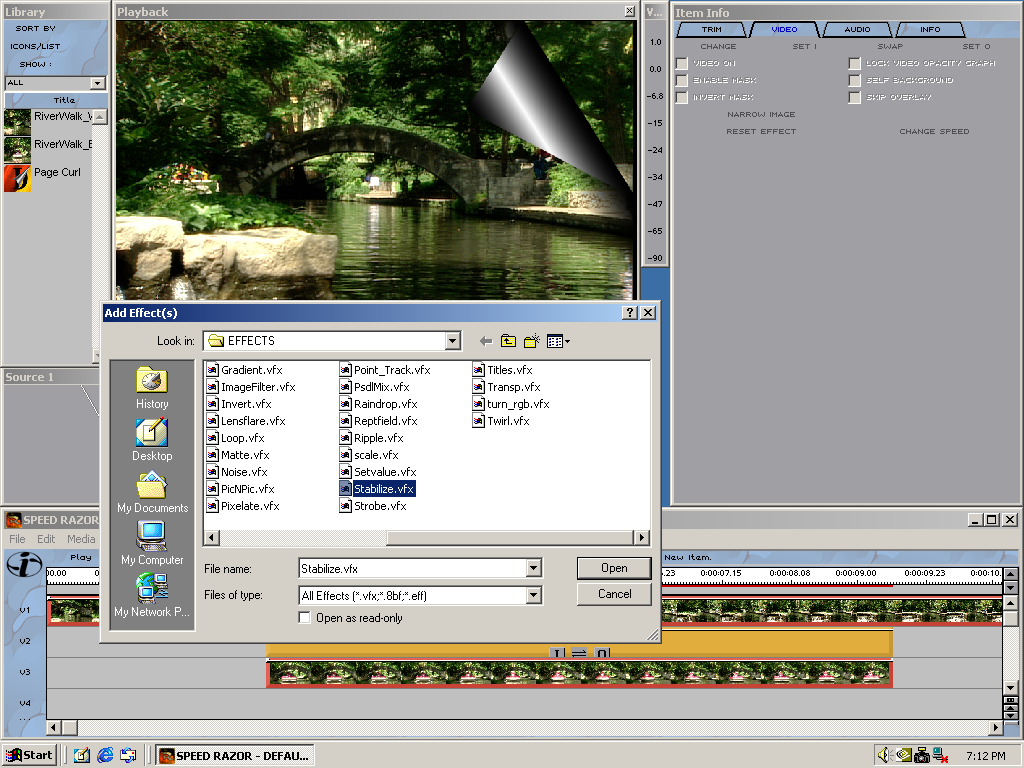
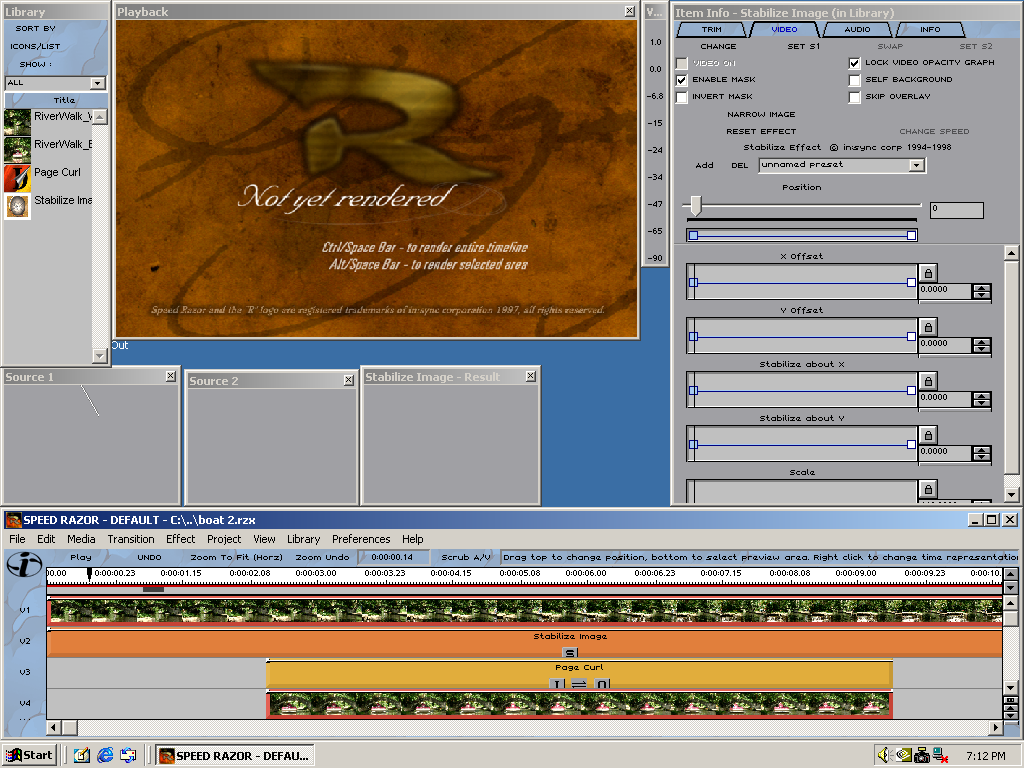
Curiously, there is no "effect library" as in, say, Premiere from three years earlier. Effects and transitions must be loaded from files, into your media library. This probably means that custom effects are easy to install.
Here, we're applying a page curl effect, although the second image is what you'll be seeing most of the time. Speed Razor is absolutely incapable of anything approaching realtime effects, and won't even try.
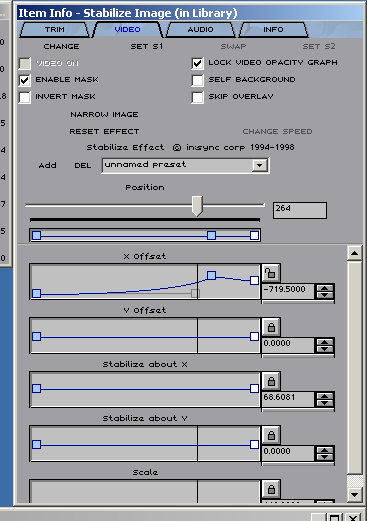
This is the "curve editor," basically. Each of these little graphs represents a timeline, and you can place keyframes on it and see how they all align, like e.g. modern Premiere. However, much like Davinci Resolve's disastrously bad keyframe editor, it seems absolutely impossible to select a keyframe without changing it's position. You can create bezier curves, as seen here, but there doesn't seem to be any way to do it without dragging the keyframe wildly out of place.